Friday 14 December 2012

Illustrator - Fashion Illustration

I first looked for a mannequin on Google. I then saved the picture and opened it on Adobe Illustrator. I opened the layers palette and double clicked on the first layer (the mannequin) and clicked on Template. I then created a new layer.

I then used the pen tool to trace the mannequin. Then I locked the layer and created a new one. 
I then created a dress using the pen tool. 


I then added the hair and lips, for the hair I used the paint brush and for the lips I used the pen tool.  

Illustrator - vest

Vest- Pattern masked in top stitching
First I made half a vest by using a pen tool.


Then I reflected it to create a full symmetrical vest. I then needed to join both sides of the vest so I selected the centre neck end anchor points and clicked Object > Path > Average then I clicked on Join so there would be no open paths. Then I did the same for the two end anchor points at the centre hem. 
I then created a new layer for my topstitching, (I locked the vest layer) I created the topstitching (on the hem) by using a pen tool and then I made the selected the lines to be Dashed Lines. 
For the neck and armholes, I used the scissor tool to cut the line at the top and bottom of the armholes and at each side of the neckline. I then selected on the neckline and nudged it down to where I wanted the top stitching to be positioned by using the directional tool, I then did the same for the armholes. I selected the lines to be Dashed Lines. 


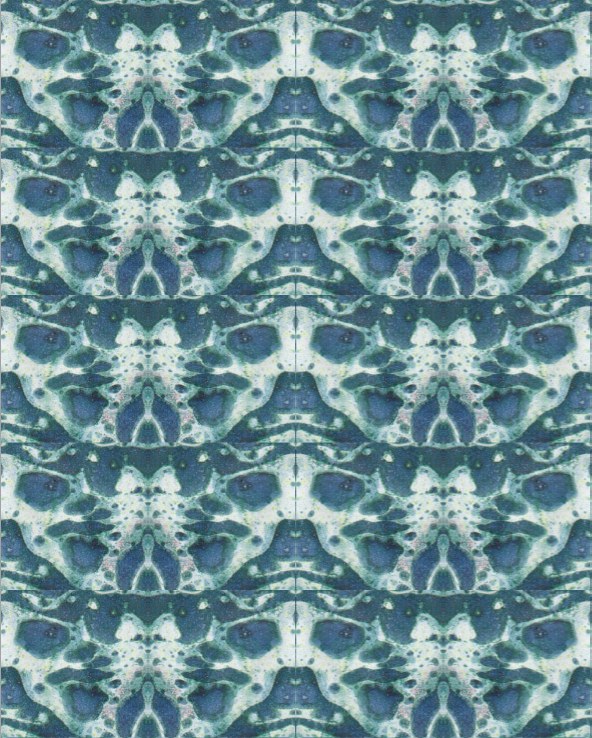
I first selected my image that I wanted to use for my vest then I selected my vest to be on top of the image (Object > Arrange > Bring To Front). I moved the vest into position in front of the pattern. I selected both the pattern design and the mask and clicked on Object > Clipping Masks > Make and the pattern masked into the vest shape. 

Illustrator- character shape

I created this character by using the shape tool on Adobe Illustrator. I used squares, rectangles, triangles and circles to create my character, the purpose of creating this is to learn how to use the layer tool as the arms and legs are behind the body shape and the eyes and the mouth are on top of the body. I used the reflect tool for the arms and legs. We also applied colour to our shape.

Friday 7 December 2012

Photoshop- Crops


These are the crops I made from my scanned picture.


Photoshop- Block repeat/ half drop repeat/ mirror repeat

1)
This is the block I used to be repeated in a pattern.

2)
This is a block repeat pattern.


                                            3)
From the block repeat, I moved the second and the fourth column down by half the size of the original block (2cm).This is a half drop repeat pattern.


3)
 From the block repeat, I flipped the second and the fourth column horizontally. This is a mirror repeat pattern.

5)
I then flipped the first and the third row vertically. This is another mirror repeat pattern.


Photoshop- Scan


To scan my work into the computer I used Image Capture.

Friday 5 October 2012

Photoshop- Filters


I used a filter (brush stroke) for this scanned picture.


I used another filter (plastic wrap) for this scanned picture.


I filtered one of my crops.


I repeated one of my crops and then coloured in each crop with different colours.